AMBerDisk
Features
AMBerDisk is a macOS app that gives you control over disk automounting behavior.
-
Block Automounts
Prevent unwanted volumes from mounting automatically when you plug in a drive to your Mac based on rules that include the disk name, regex expressions matching the disk name, and UUIDs. -
Custom Automount Options
Prevent accidental writes to certain volumes, prevent them from showing up in Finder, or both. -
Run Scripts on Automount
Run custom shelll scripts you define whenever a disk automatically mounts. -
GUI & Menu Bar Access
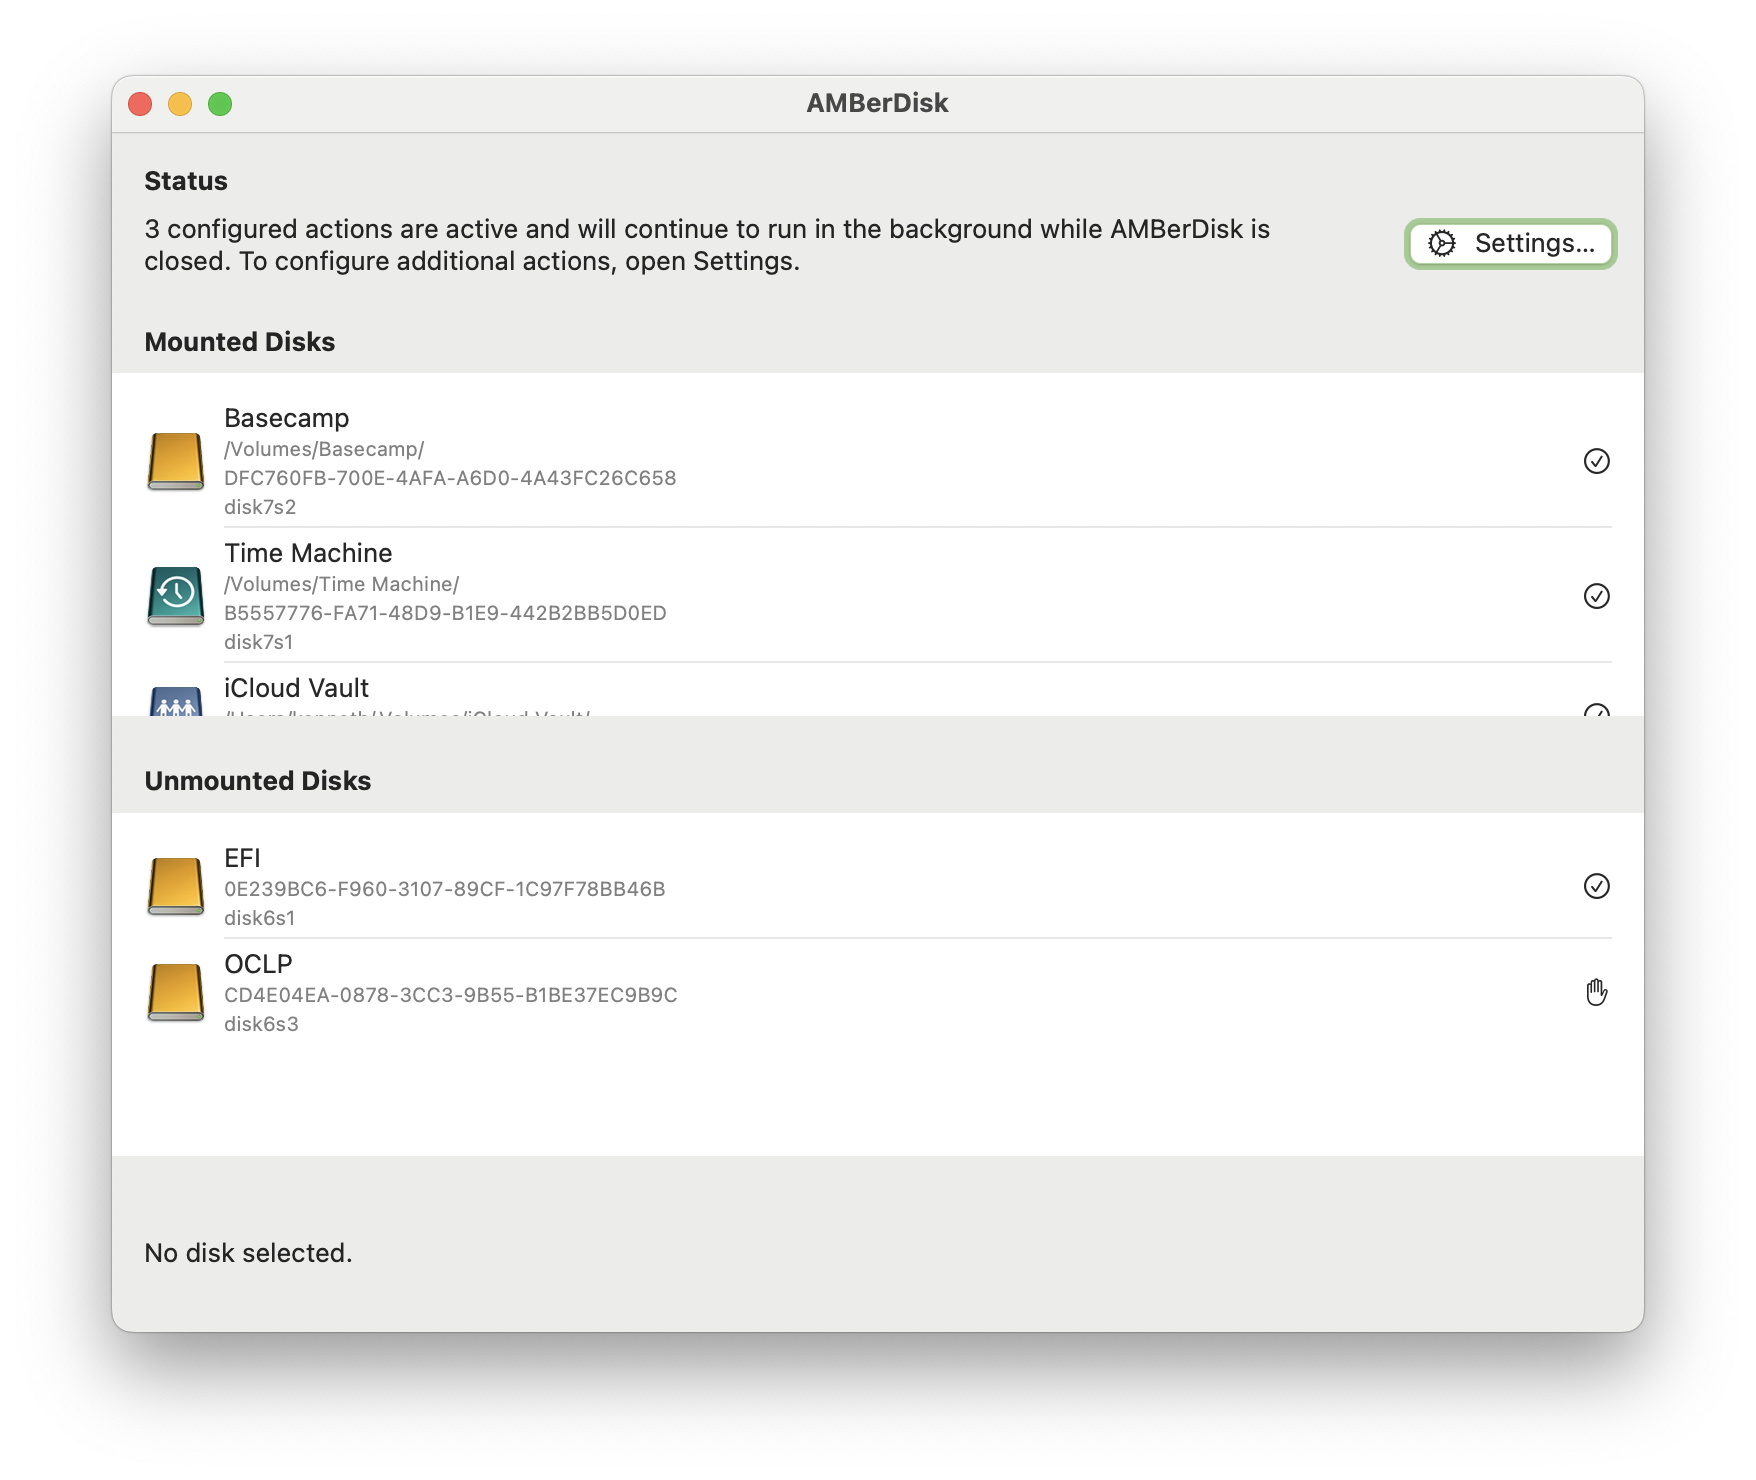
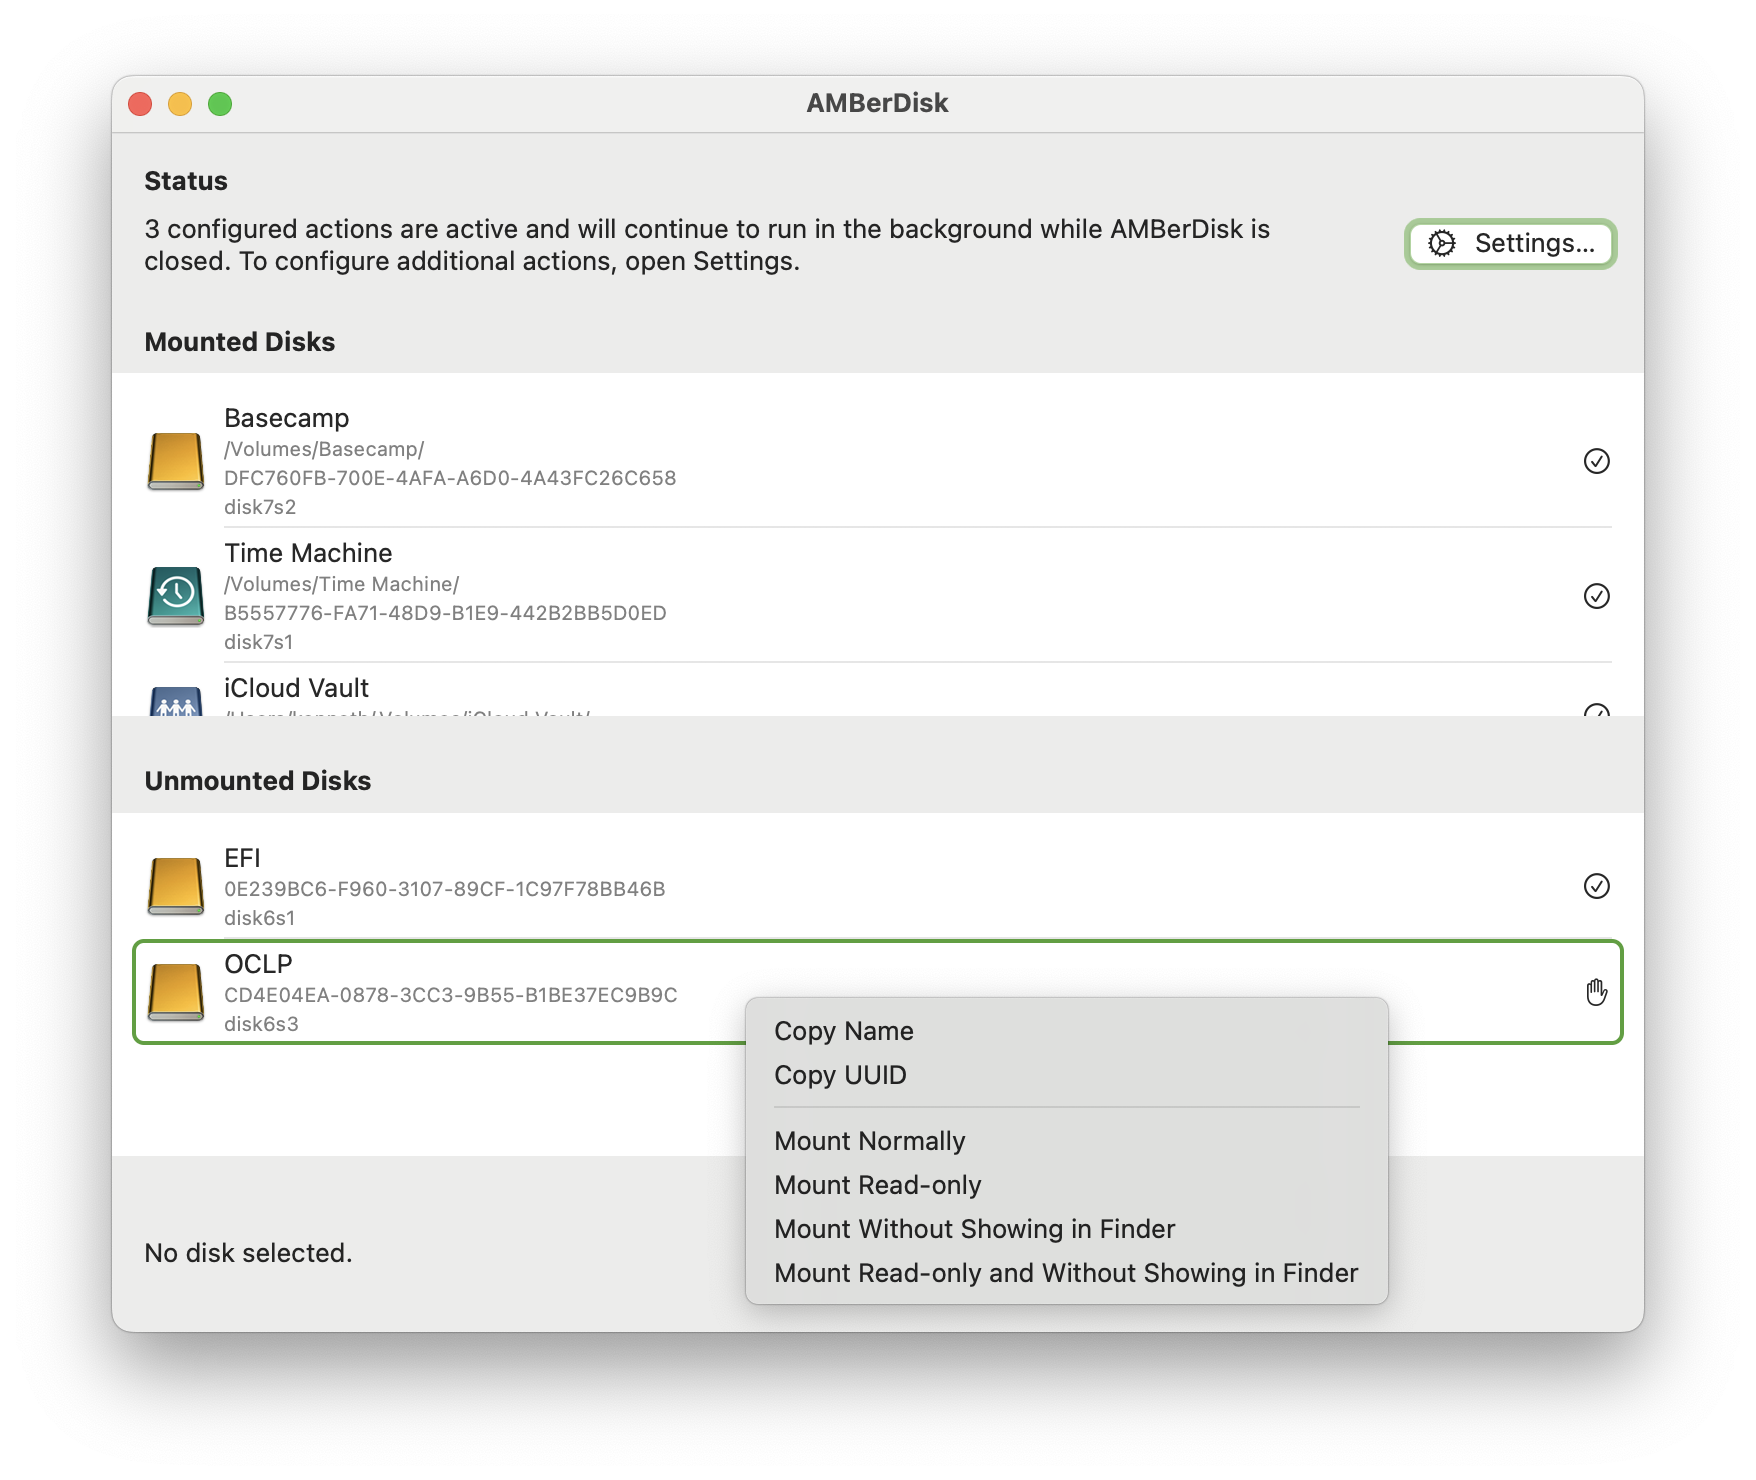
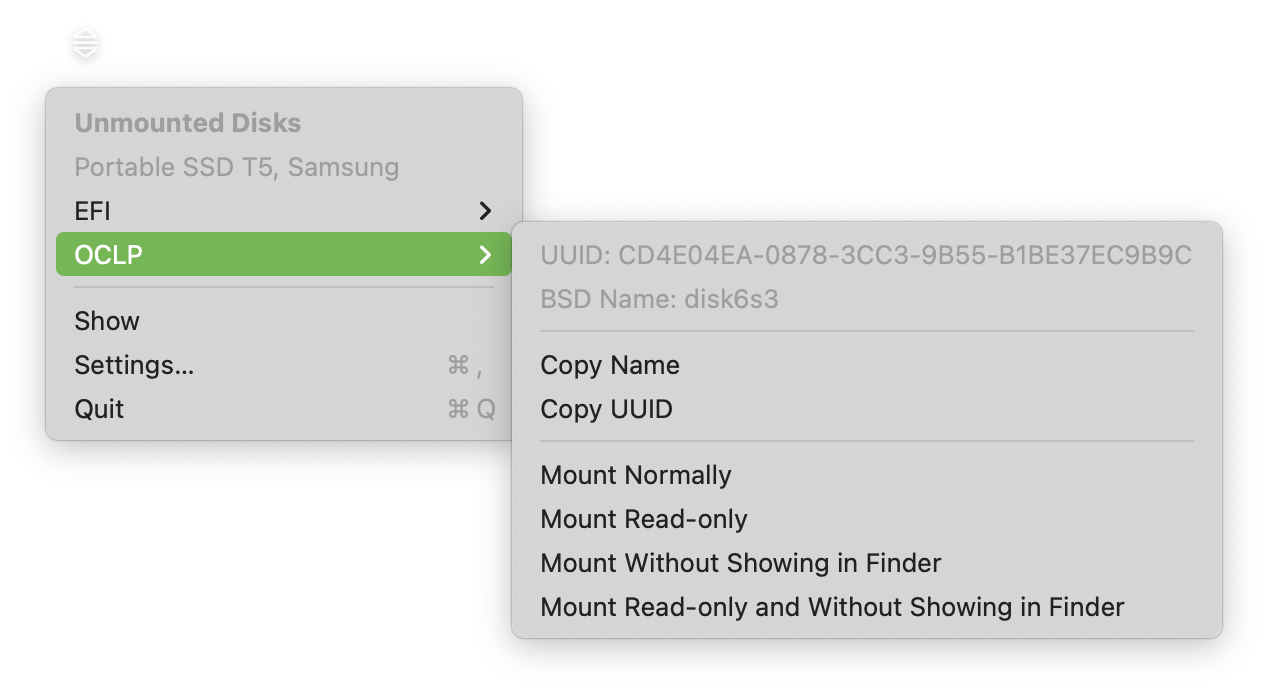
Mount unmounted disks on demand, including as read-only, hidden, both, or neither.
Screenshots


Frequently Asked Questions
Can I still access blocked disks when I need them?
Yes - if you need to access a disk that is blocked, you can do so by right clicking on the disk in the AMBerDisk app and selecting “Mount”. You can also mount disks from the menu bar icon or from Disk Utility.
How do I create a rule to block a disk?
Open AMBerDisk, then open its settings. In the Matchers section, you can create new rules based on disk UUID, exact name, or regex name. Disks that are compatible with AMBerDisk show up in the main window, so you can get their UUID or name from there.
What actions can I take when a disk automounts?
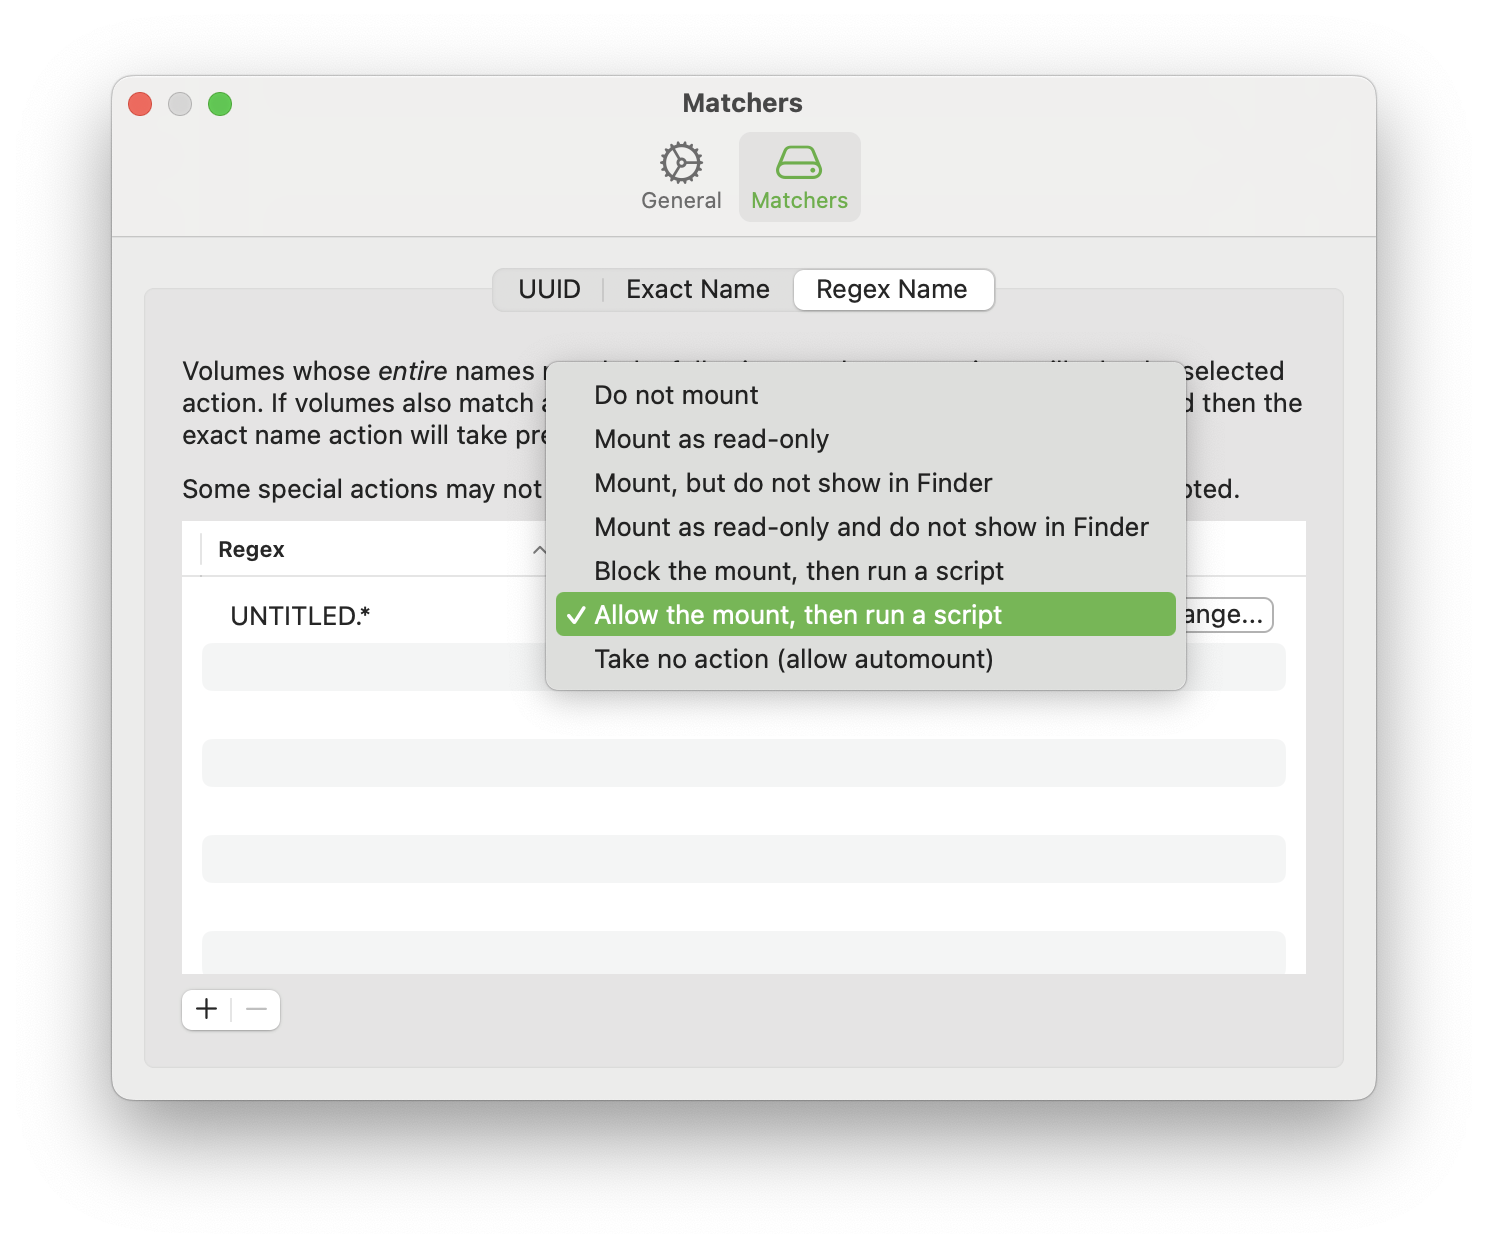
The following actions are currently supported:
- Do not mount
- Mount as read-only
- Mount, but do not show in Finder
- Mount as read-only and do not show in Finder
- Block the mount, then run a script
- Allow the mount, then run a script
- Take no action (allow automount)
How do I run a script when a disk automounts?
Two of the supported actions in a rule involve running a script. When selecting either of them, a button appears to allow you to select a script to run.
A script must be a Unix executable or shell script, and runs with the first argument being the name of the disk and the second argument being the UUID of the disk. The script or executable must be included in the provided directory.
For a shell script to appear, it must be executable. You can make a file executable in Terminal, such as with the following command:
chmod +x /path/to/script.sh
Do the rules take effect if I manually mount a disk?
In general, no. AMBerDisk’s rules are intended to execute when a disk automatically mounts, such as when you first plug it into your computer.
For some types of disks, macOS might try to automatically mount them several times in a row when they appear if the first attempt fails. This means that if you try to manually mount one too quickly, it may still trigger the rule. To avoid this, wait a few seconds before manually mounting the disk.
Can I block automounts for all disks?
Yes - you can create a rule that matches all disks by using the regex .* in the regex matcher. This will block all automounts, but you can still mount disks manually from the AMBerDisk app or from Disk Utility. Rules based on exact name or UUID take precedence over the regex matcher, so you can use those to allow certain disks to automount while blocking by default.
Are all types of disks supported?
AMBerDisk has been tested to work with USB external drives formatted as APFS, exFAT and FAT. It has not yet been tested with network drives.
Encrypted drives or partitions, such as encrypted APFS volumes, might not fully work with some actions. The special mount options may not activate, and you cannot mount encrypted volumes from the AMBerDisk GUI.
Why don’t I see/why can’t I use the mount options in the GUI?
Why are the special mount options in a rule grayed out?
To use these options, you need to turn on the “Enable permissions for special and manual mounts” option in AMBerDisk’s General settings. When that is on, you must also approve the access in System Settings > General > Login Items & Extensions under the “Allow in the Background” section and enter an administrator password. Alternatively, a notification may appear asking you to allow AMBerDisk to approve an item for all users, which you can approve from there. This permission allows AMBerDisk to remount the disk with the options you specify.
If the options still do not work, try disabling and re-enabling AMBerDisk’s access to the background in System Settings. You can also try restarting AMBerDisk or restarting your Mac after approving the access.